Acquisition Details
| IC1848 | OIII | SII | Hα |
|---|---|---|---|
| Frames | 49 | 47 | 56 |
| Exp. time | 300s | 300s | 300s |
| Flats | 20 | 20 | 20 |
| Darks | 20 | ||
| Bias | 15 |
Final Masters
Description
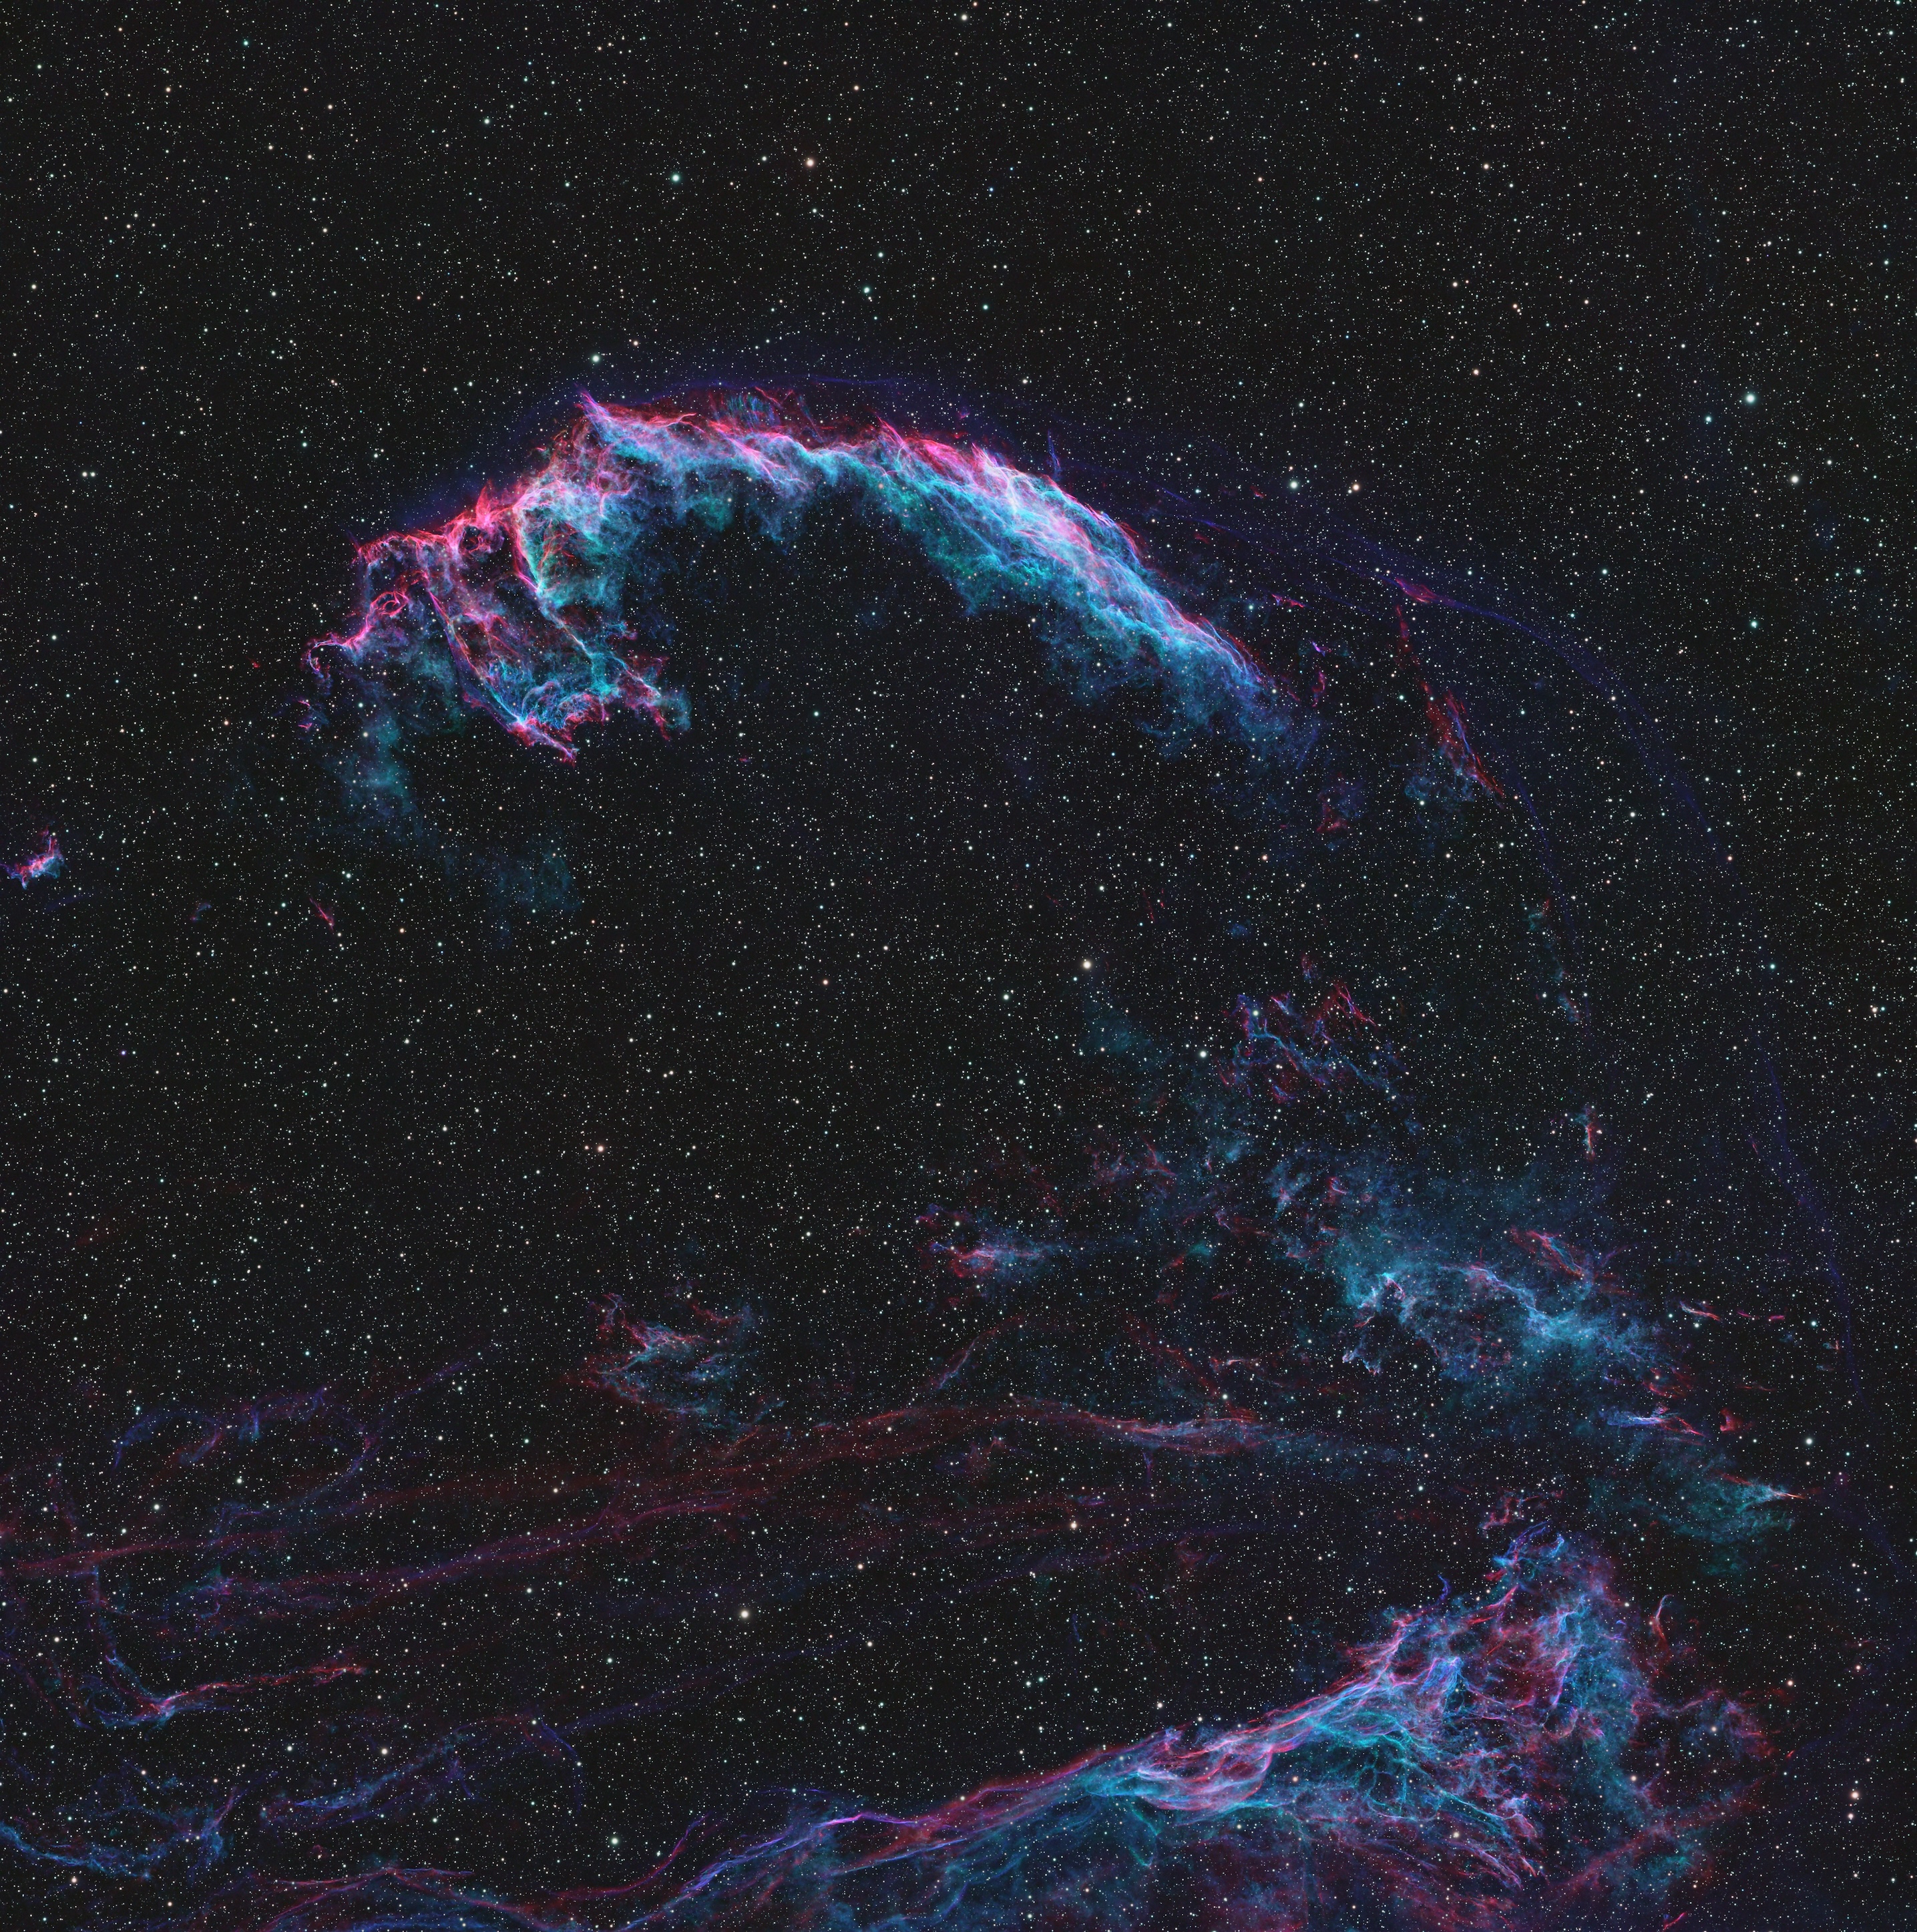
So here it is… I present to you: my tri-band image of the ✨ Eastern Veil Nebula ✨!
This weekend, I captured the final set of data using the Sulfur (S-II) filter, completing my final image.
Astrometry Calibration
| RA center | 20h53m49s.4 |
| DEC Center | +31°28′12″ |
| Pixel Scale | 1.56 arcsec/pixel |
| Orientation | 290.615 degrees |
| Field radius | 1.766 degrees |
HSO, SHO, HOO, OSH?
When using narrowband filters, which isolate specific wavelengths of light, you create images similar to Hubble’s famous ‘Pillars of Creation.’ Typically, the filters are assigned as follows: Sulfur (S-II) to red, Hydrogen (H-alpha) to green, and Oxygen (O-III) to blue—also known as the Hubble Palette (SHO).
When shooting dual-band filters, like Hα and OIII, you can create a different palette. The mose common palette in this case is the HOO palette, where Hydrogen (Hα) is assigned to red, Oxygen (OIII) to green, and Oxygen (OIII) to blue. If I’d only applied two channels of data (dual-band) the image would look like the following:
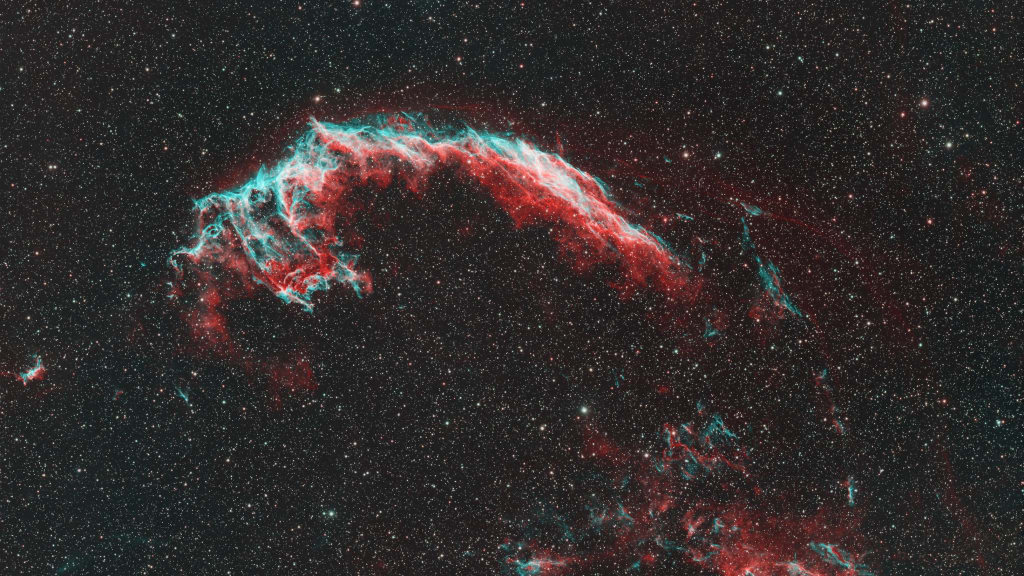
You often see images of the Veil Nebula in this blue-green and red palette, looking like an old-school 3D glasses picture. However, depending on how the data is applied, the results can vary. For this image, I aimed for a more ‘realistic’ look, similar to how you might perceive it with the naked eye. I found that the OSH palette (Oxygen, Sulfur, Hydrogen) worked best for me. Of course, it all comes down to personal preference!
Noise reduction (new approach)
I’ve been working on noise reduction techniques for most of my images and found out there is a better way on reducing noise on narrowband images. With LRGB data you could use the Lumminance channel for noise reduction. However, with narrowband data, you don’t have a Lumminance channel.
For this problem you could create a so-called synthetic lumminance channel by combining the three narrowband channels. This can be created in Pixinsight using the ImageIntegration tool. Just add the three masters (S, H, O) as Input Images and set the weights for the Image Integration setting to SNR.
Hit the Apply Global (cirkel) button and you’re done. You now created an image with the best signal-to-noise ratio of the three channels combined. This image can now be applied as lumminance channel on the narrowband image by merging it on CIE L a b mode using ChannelCombination.
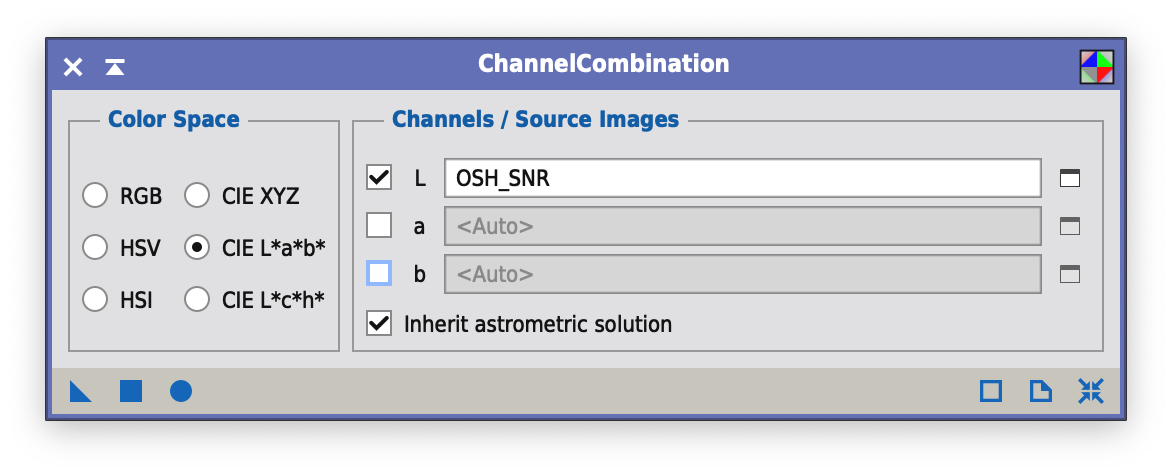 Pixinsight, ChannelCombination settings
As you can see, by default, the image both contains less noise and more detail!
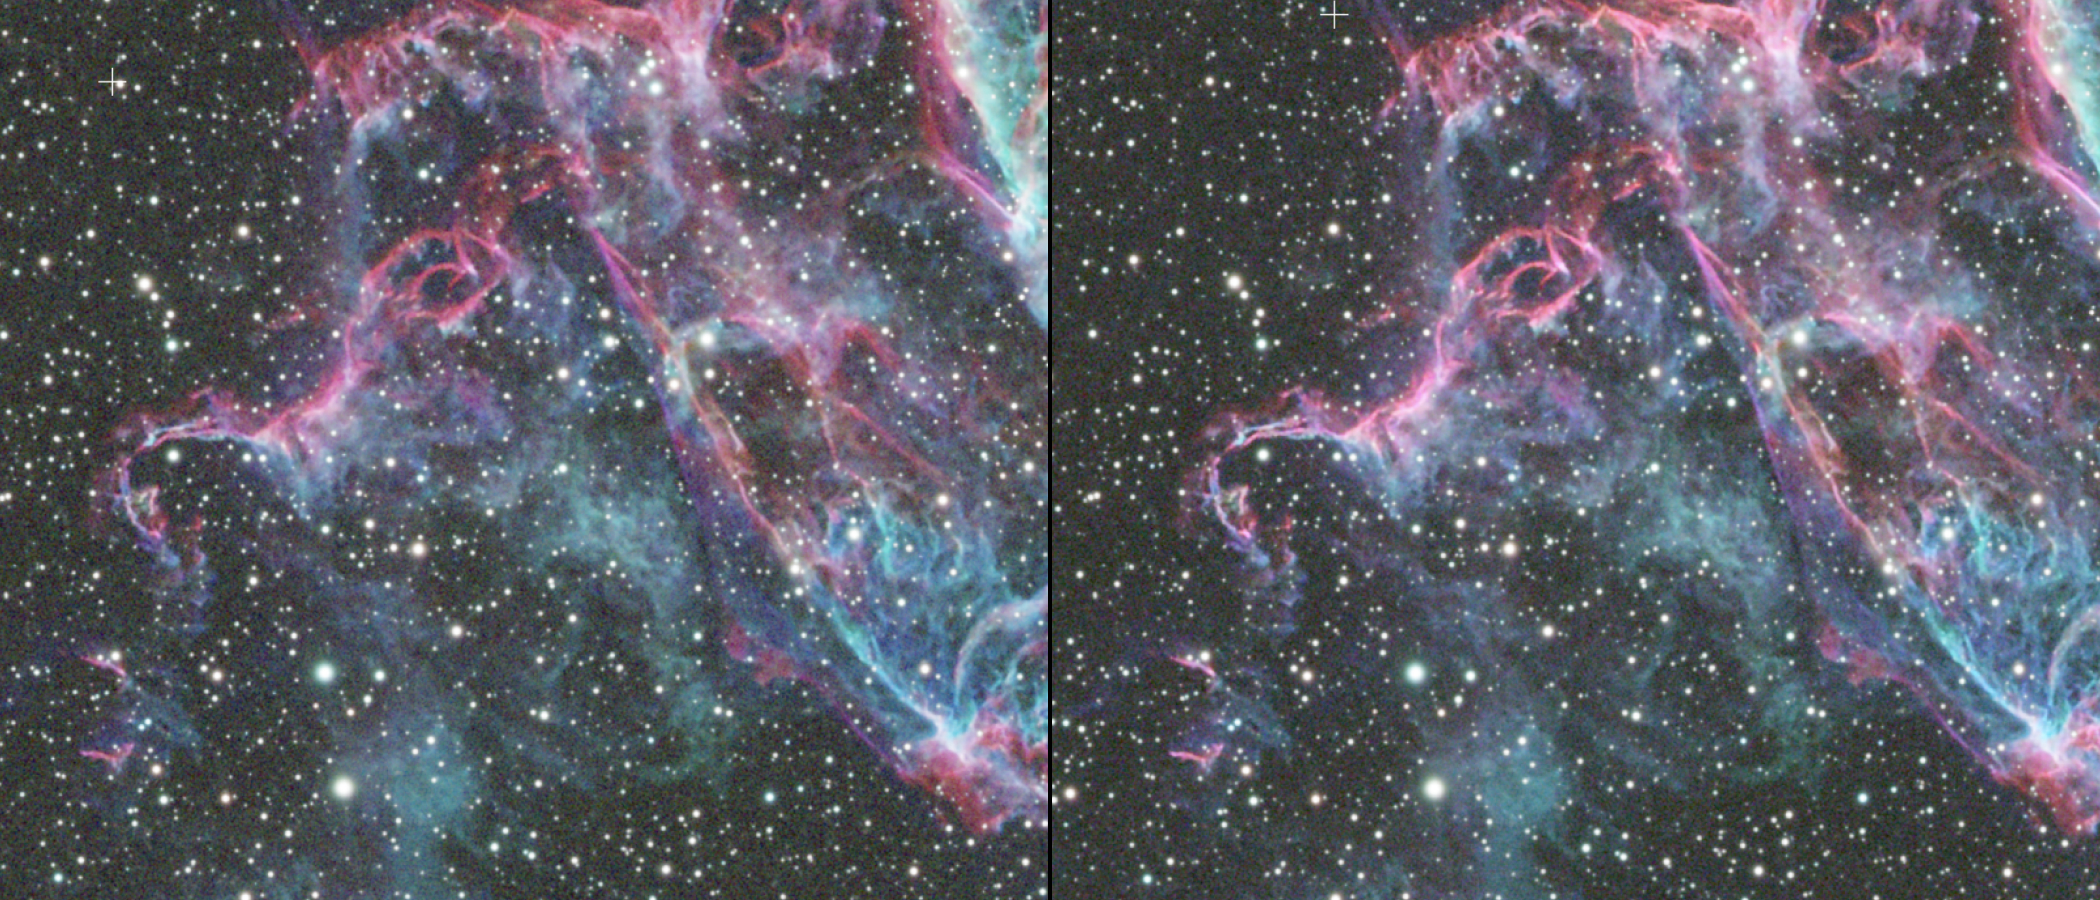 Before - After applying the SNR image as lumminance channel
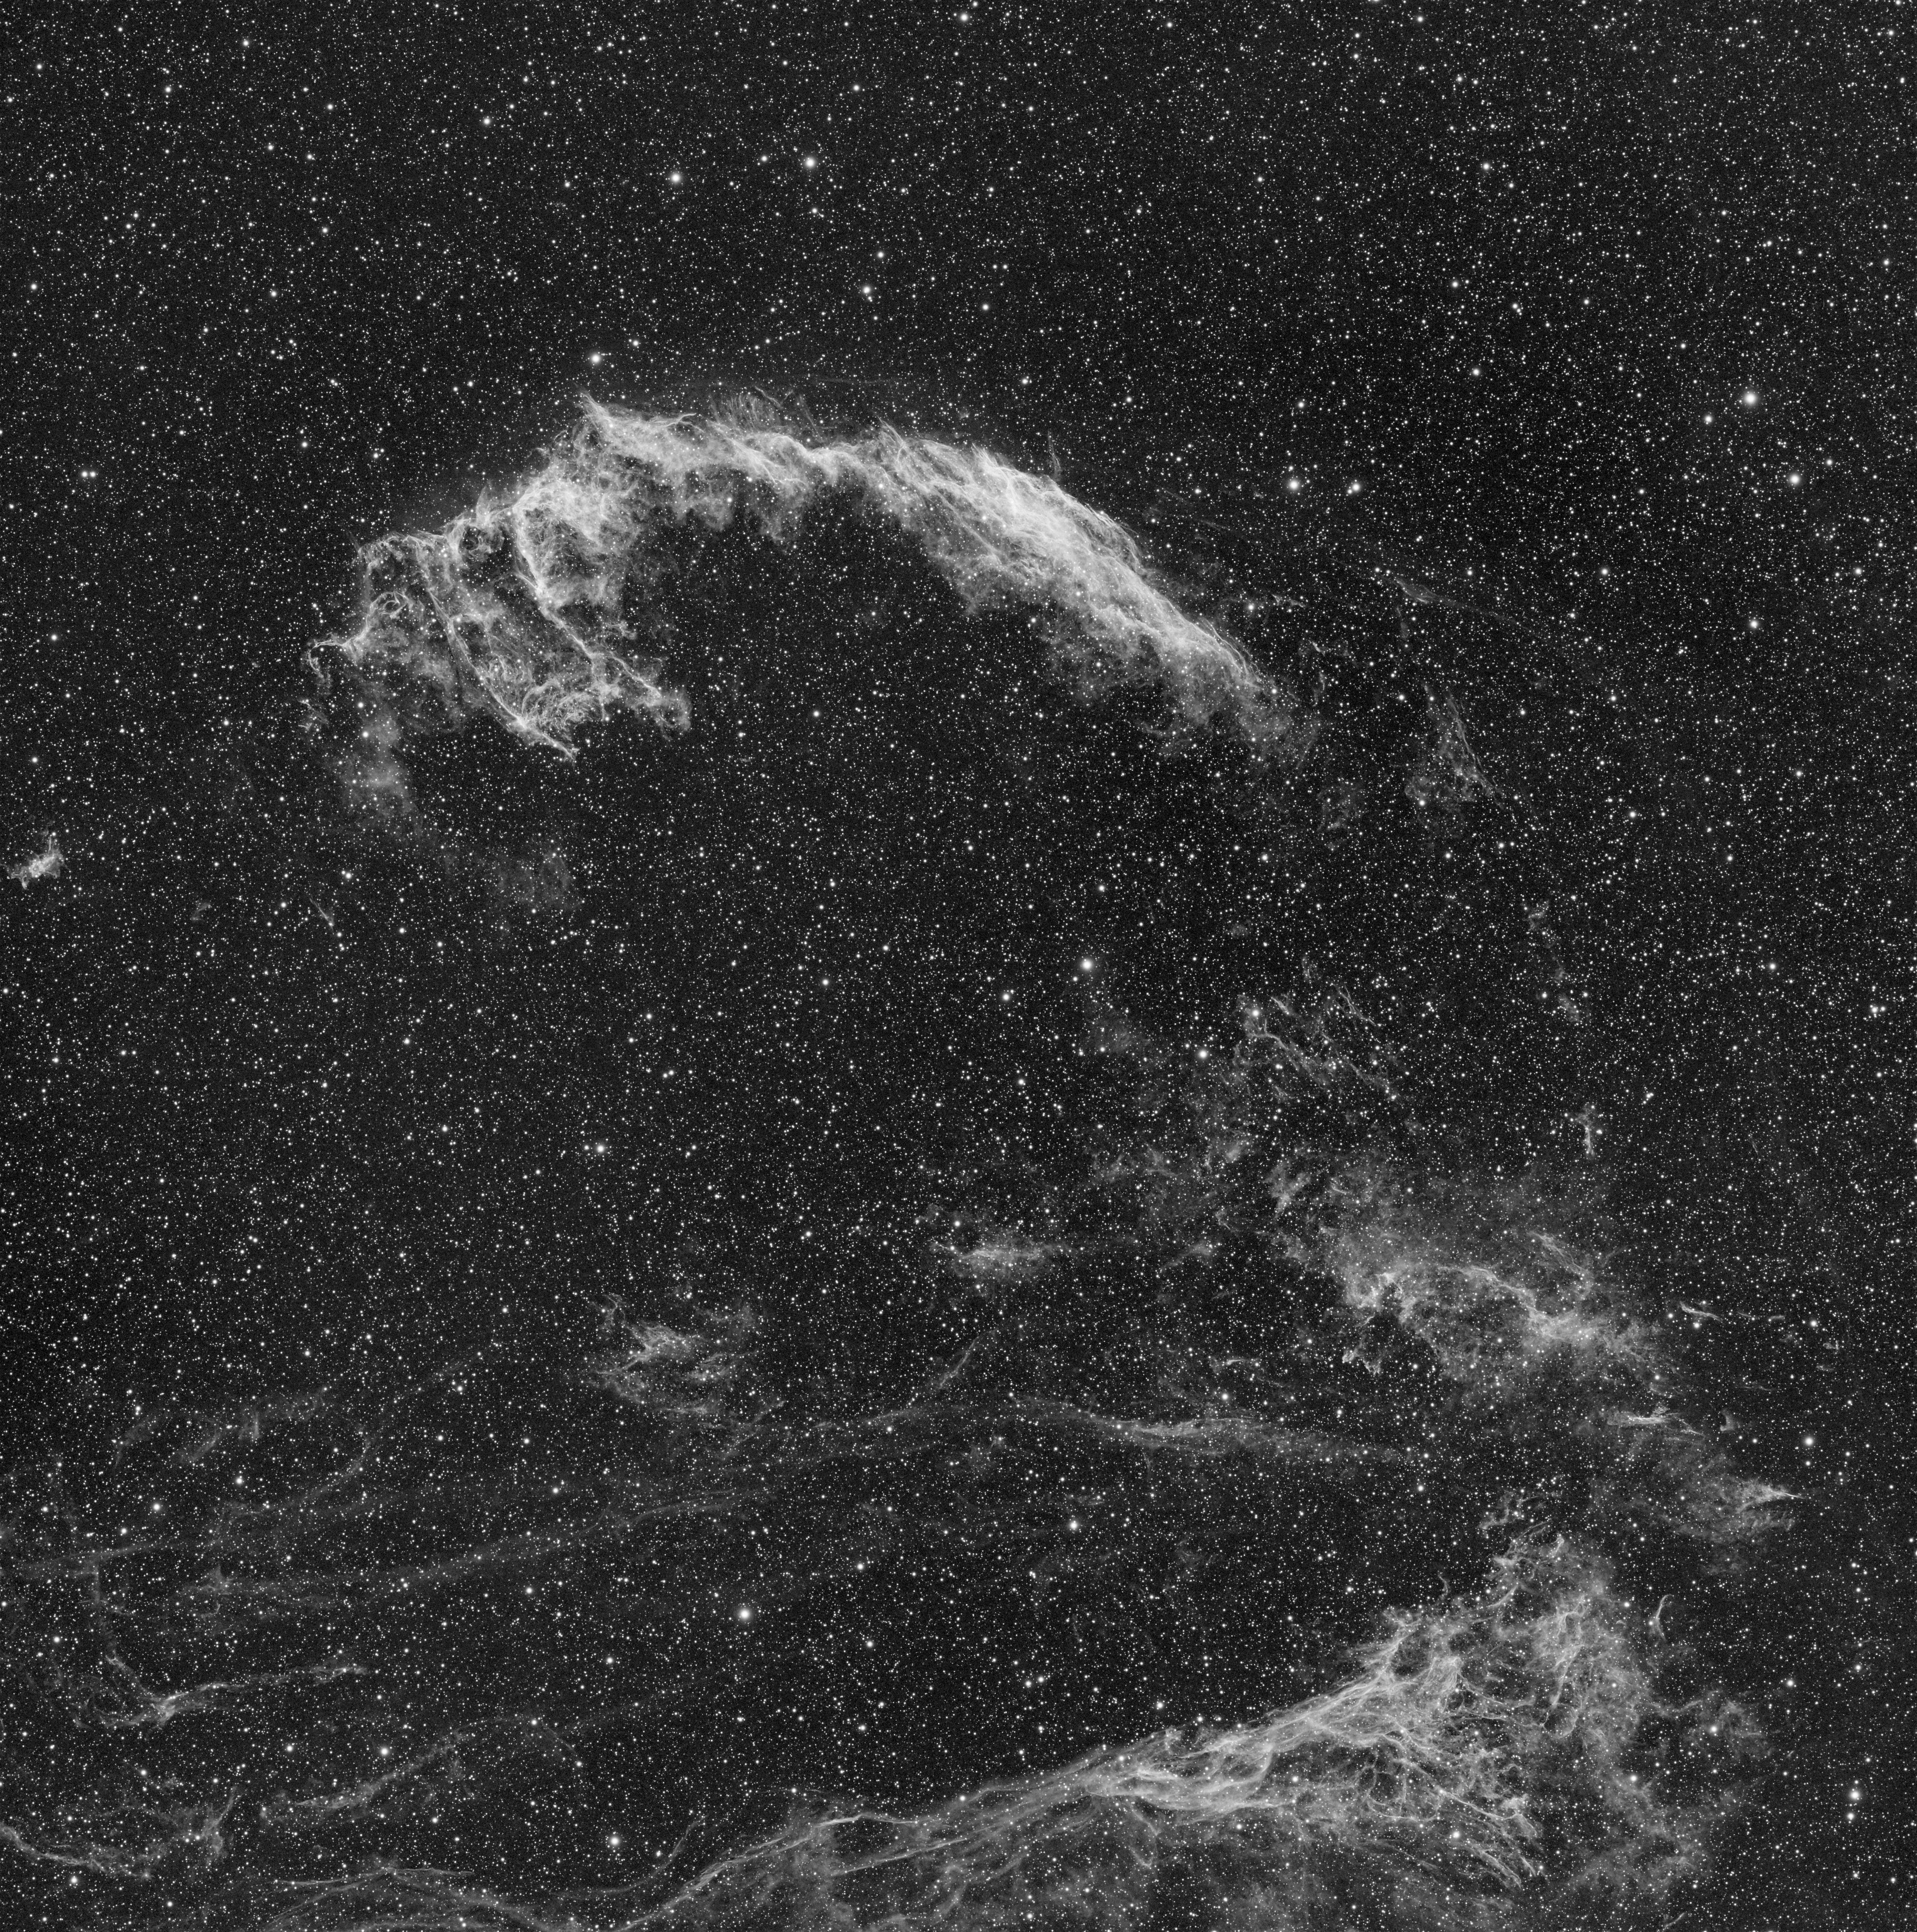
SNR Image
Below is the final result for the SNR image:
Data Processing
Processing was done in PixInsight only. Steps of the process are listed below:
- FastRotation on the OSH image (180 degrees),
- DynamicBackgroundExtraction on the OSH image,
- ImageSolver for preparing the image for correction in SPCC,
- SPCC,
- BlurXTerminator on the OSH image with values: 0.5 sharpening stars, -0.1 halo adjustment and 0.7 non-stellar sharpening
- Stretched the image using HistogramTransformation
- Prepared an OSH SNR image using ImageIntegration and ChannelCombination as described above and applied it as lumminance channel
- StarXTerminator (splitting stars and background),
- Adjustments with CurvesTransformation
- NoiseXTerminator on the starless image using masks for separate background and galaxy noise reduction
- Star intensity control and (size) reduction using only the brightness curve in the CurvesTransformation tool. Also pumped up the saturation a bit.
- Merging of the stars and starless image using PixelMath, expression: $T + OSH_STARS
- Final contrast adjustments with CurvesTransformation
Final Result
Please check the image in full resolution on my Astrobin post.
